Print Dialog
The Print Dialog (Report Printing) opens when you press Print on any Report Screen. It decides where the report goes and how it looks on paper.
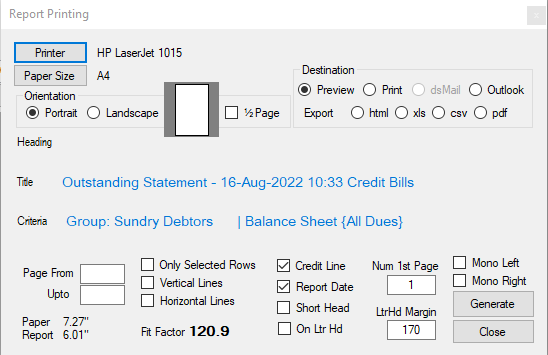
The top of the dialog shows the Heading, Title and Criteria that will be printed at the top of the report, so you can confirm you are printing the right report before you start.
Print Destinations
Select the output destination for the report, then press the action button. The button's caption and the dialog's background colour change with the destination, so it is always clear what will happen when you press it.
| Destination | Button | Description |
|---|---|---|
| Preview | Generate | Shows the output on screen in the Preview Screen, to check it before printing. |
Print | Prints to the selected printer. The dialog turns pink. |
Sent as Email
| Destination | Button | Description |
|---|---|---|
| dsMail | Send | Sends the report as a PDF attachment using dsGST's own mail client. Complete the mail settings first. It also needs the Microsoft Print to PDF printer (see pdf below) and is greyed out when that printer is missing. |
| Outlook | Outlook | Sends the report using Outlook. Outlook must be installed on the computer. |
Choosing either one opens the e-mail panel at the bottom of the dialog:
- Tick
Acc(party),Mfr(manufacturer) and/orM/Rep(company representative) and pick the name. When the report was run for a party or manufacturer, it is pre-selected for you. - Press
Getto list the e-mail addresses on record for them. - Select addresses and press
Add(or double-click an address) to add them to the EMail Id box.Replacereplaces the addresses already there;Clearempties the box.
You can also type addresses directly into the EMail Id box, separated by ;.
Export to other file-formats
| Format | Description |
|---|---|
| html | Saves the report as an HTML file. You choose where to save it. |
| xls | Saves the report as an Excel file. You choose where to save it. Microsoft Excel must be installed on the computer. |
| csv | Saves the report as a CSV file. You choose where to save it. |
| Prints the report to a PDF file on your Desktop (see below). |
The pdf option uses the Microsoft Print to PDF printer, and is disabled if that printer is not installed. The file is named after the report screen's title and the date (<title>_yyMMdd.pdf); if a file of that name already exists a number is added instead of overwriting it. After saving, dsGST offers to open the folder with the file selected.
PDF files pile up on the Desktop. Move or delete them once you have sent or filed them.
Printing
Printer and Paper Size
Press Printer to choose the printer and Paper Size to choose the paper. The default printer and its default paper size are pre-selected.
Paper Orientation
- Portrait
- Landscape
Tick ½ Page to print on the top half of the sheet only (the preview picture next to the options shows the half in grey). Useful for short reports on pre-cut or half sheets.
Fit Factor
The dialog shows the Report width, the printable Paper width and the Fit Factor — paper width as a percentage of report width. Below 100%, the report is wider than the paper and the fit factor turns red — the right-hand columns may be cut off. Switch to Landscape or a larger paper size, or narrow some columns on the Report Screen.
Selected Printing
Page Range
| State | Description |
|---|---|
A number in Page From | Start printing from this page number |
Blank in Page From | From beginning |
A number in Upto | Print up to this page number |
Blank in Upto | Up to the end |
Only Selected Rows
Tick this box to print only the rows selected in the report area.
Other Options
| Option | Description |
|---|---|
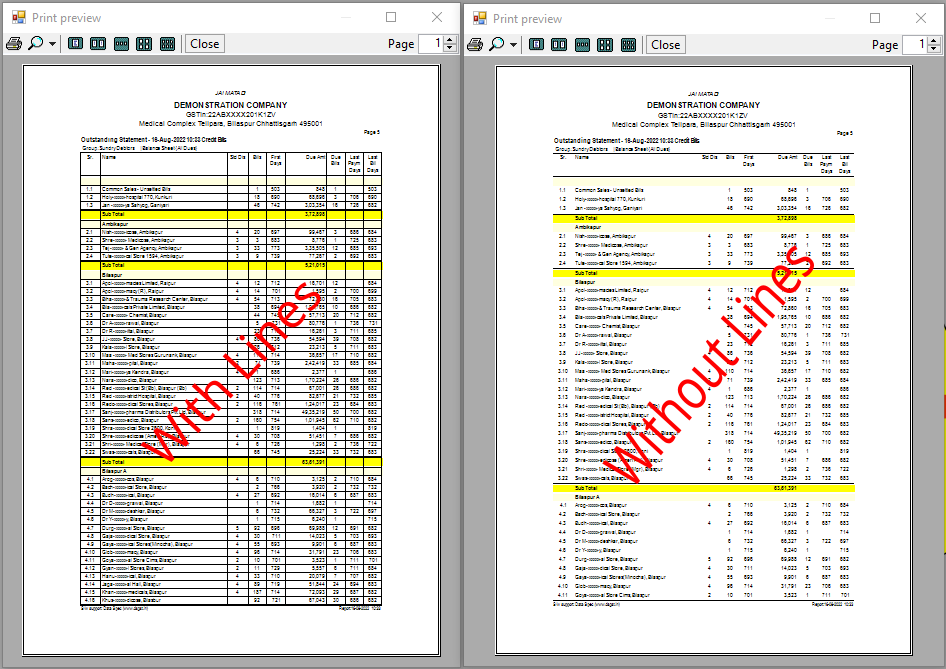
Vertical Lines and Horizontal Lines | Prints vertical and horizontal lines between the rows and columns. |
 | |
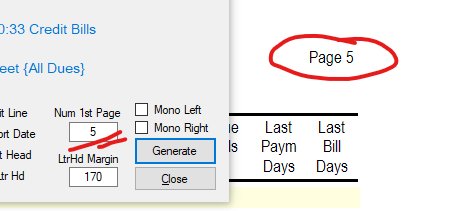
Num 1st Page | Number of First Page — the page number shown on the first printed page, incrementing from there for the following pages. |
 | |
Credit Line | Prints the credit line for this software in the footer. |
Report Date | Prints the date and time of printing the report in the footer. |
 | |
Short Head | Print a Short Page Header or the Full Page Header. |
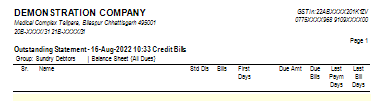 Short Header 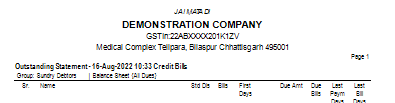 Normal Header | |
Mono Left and Mono Right | Prints the firm's logo on the left and/or right of the full page header. Shown only when a logo has been set up for the firm. |
On Ltr Hd and LtrHd Margin | Tick On Ltr Hd (On Letter Head) when printing on your own pre-printed letterhead. The firm's header is then not printed, and the report starts LtrHd Margin down from the top of the page — in hundredths of an inch, so the default 170 leaves 1.7 inches for the letterhead. |
Preview Screen
Choosing Preview opens the report in a full-screen preview window, zoomed to fit the page.
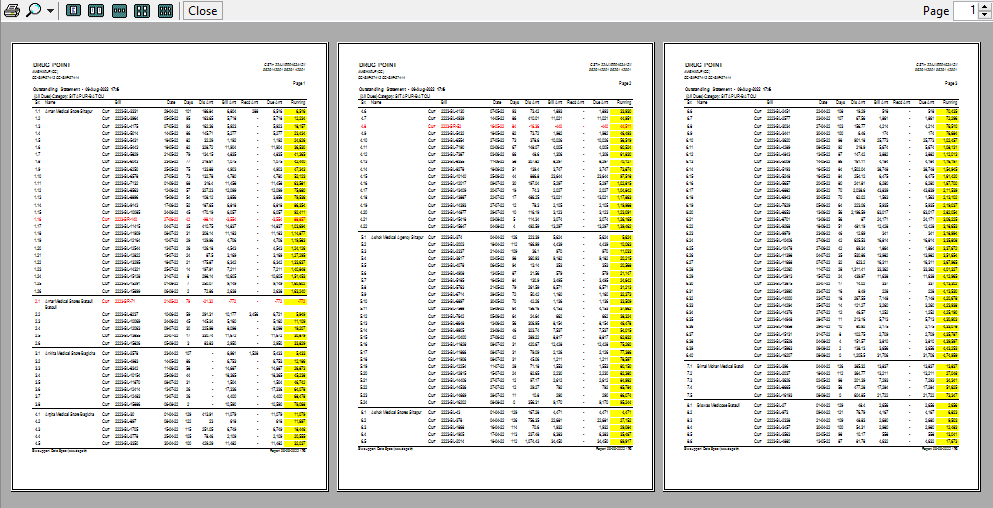
Use the preview's toolbar to zoom, show one or several pages at a time and move between pages. The printer button on the toolbar prints straight to the selected printer. To change the printer, paper or options, close the preview, change them in the Print Dialog and press Generate again.